Mix your content creators and coders: Builder.io
Builder.io, Next.js, TailwindCSS, headless CMS
I will present an application that will take you through the basics. We will create a dummy online business portal that will look like this at the end:
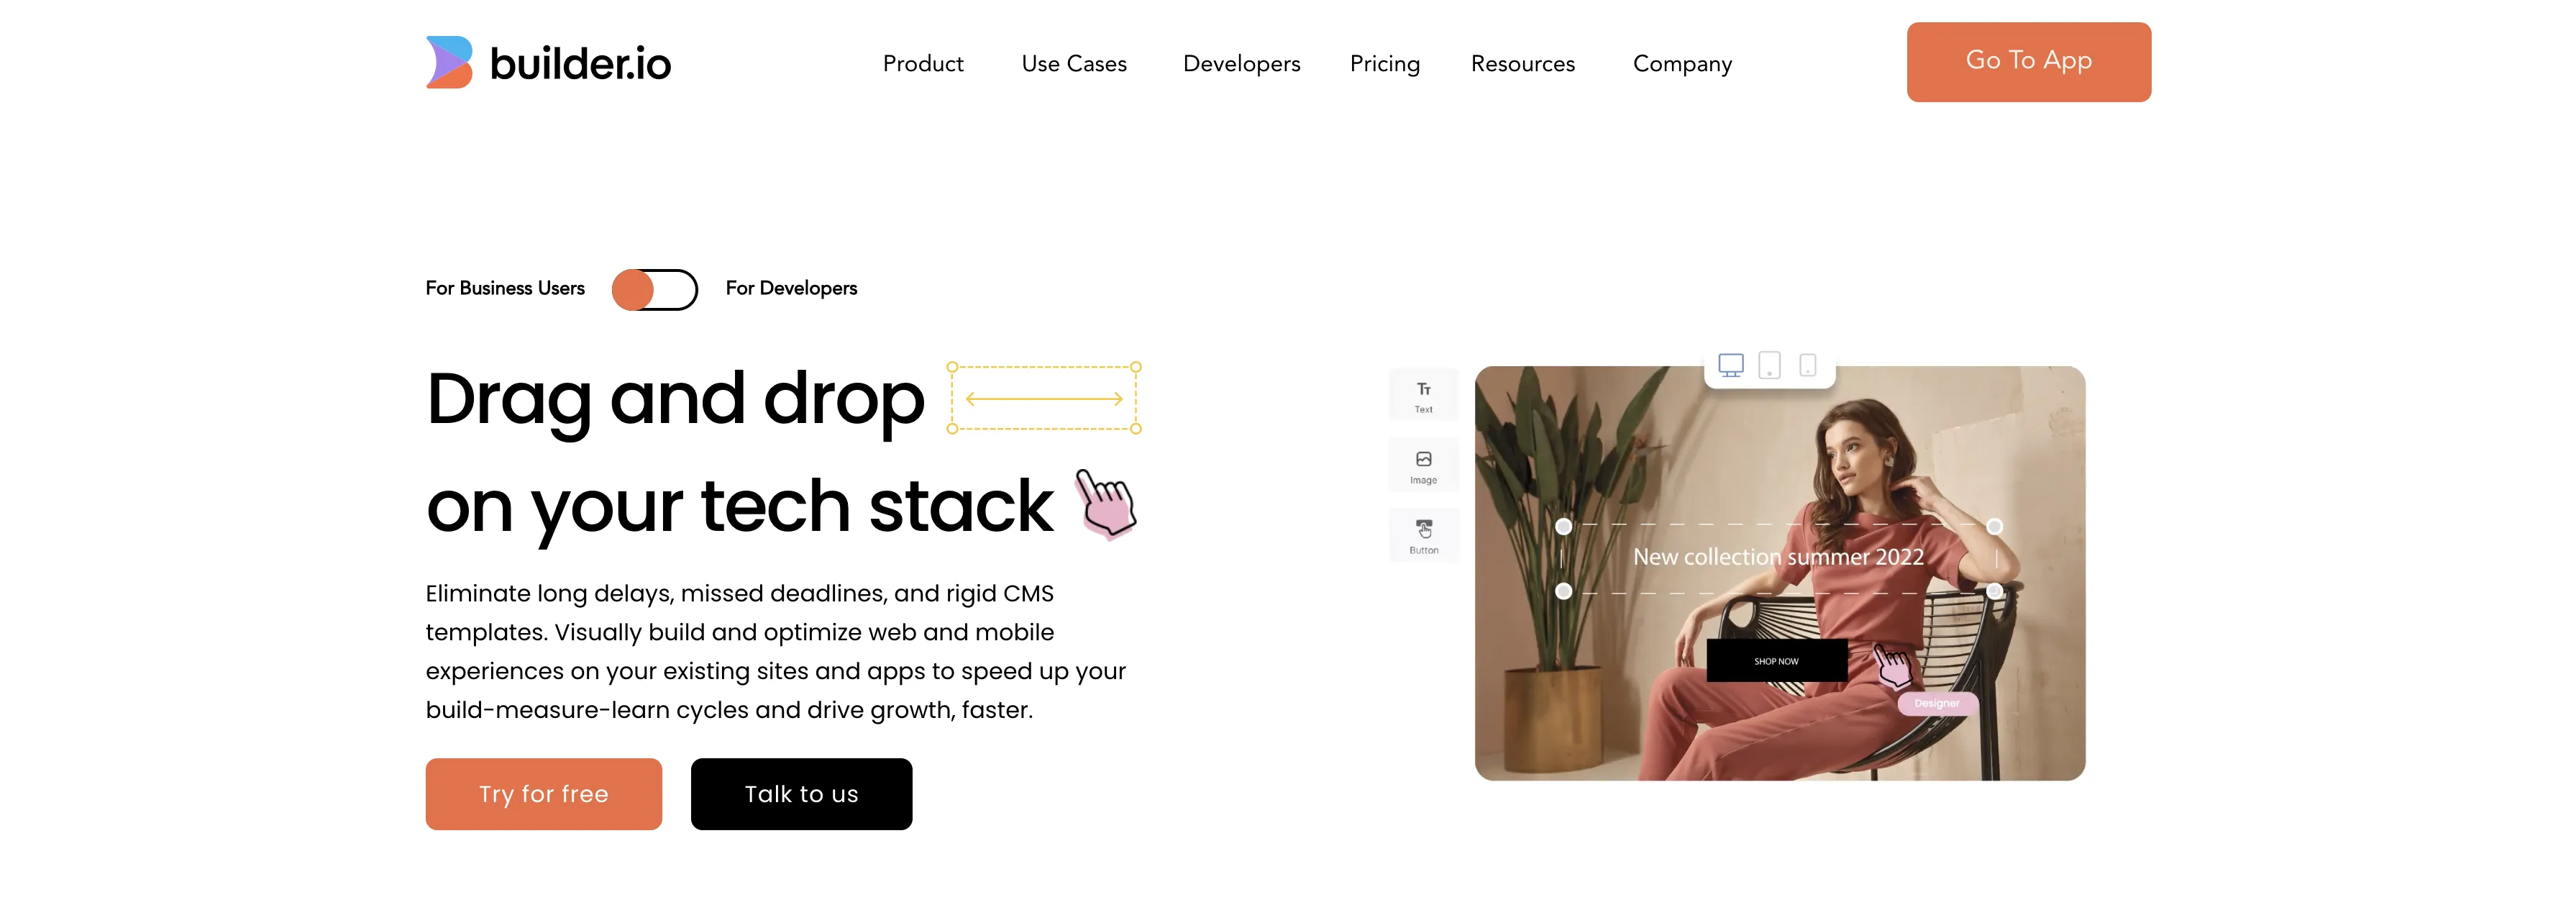
What is Builder.io?
A headless CMS, or headless content management system, is a type of content management system (CMS) that allows users to create, manage, and distribute content in a decoupled way. This means that the backend system, which is responsible for storing, managing and delivering the content, is separate from the frontend system, which is responsible for displaying the content to end users.
A headless CMS allows for greater flexibility and scalability, as it can be integrated with any frontend technology, such as a website or mobile app. In contrast, traditional CMSs are tightly coupled to a specific frontend platform and can be more difficult to customize or extend.
It also allows for better collaboration between development and content teams, as it separates the responsibilities of content management and presentation, so each team can work on the area they are specialized in.
Builder.io has all these advantages and more. In this article, we will focus on how Builder.io can be used with Next.js, a popular framework for building server-side-rendered React applications. However, it's important to note that Builder.io can be used with a variety of languages and frameworks (Next.js, React, Angular, Vue.js, Svelte, Vanilla JavaScript, Gatsby, Qwik …) making it a versatile and powerful tool for content management.
One of the key features of Builder.io is its drag-and-drop interface for creating and managing content. This makes it easy for users to create and edit not only data models but also pages, components, and layouts without the need for complex code. This can be especially useful for non-technical users or those who want to quickly prototype and test new ideas without the need for extensive developer resources.
In addition to its drag-and-drop interface, Builder.io also includes a feature called Symbols. Symbols allow users to create reusable components that can be easily added to multiple pages or layouts. This can be a powerful time-saver, as it allows users to quickly create and manage consistent, reusable content across their site or application.
Another powerful feature of Builder.io is the ability to use registered custom code components. This means that developers can use their existing skills and expertise to create custom components that can be used in the same drag-and-drop way as regular components. These custom components can also be parameterized, which means that users can easily customize and configure them to suit their specific needs. This can be a huge advantage for teams working on complex projects, as it allows them to easily incorporate custom functionality and workflows into their content management process.
This guide provides a step-by-step tutorial on how to use Builder.io, with no prior knowledge beyond basic understanding of (little bit of Typescript), Next.js and TailwindCSS. The tutorial is designed to be easy to follow, even for users with little to no experience with content management systems or web development.
You can find detailed documentation for Next.js here, and TailwindCSS here.
Additionally, for more information on using Builder.io, you can refer to the official Builder.io documentation here.
Please be sure to follow the instructions carefully, and if you have any questions or encounter any problems, don't hesitate to reach out to the Builder.io support team for assistance.
We will start our project from scratch, but to save some time configure everything, our starter project will be this one: https://github.com/BuilderIO/builder/tree/main/examples/next-js-simple#nextjs--builderio-minimal-starter (this contains all the necessary details on how to get started).
This article uses the previous version of Next.js (12.0), so the latest features introduced in version 13.0 will not be covered.
Getting started with Builder.io is easy, and it can be done in just a few simple steps:
- Go to the Builder.io website and click on "Get Started" button or the "Sign Up" button in the top right corner.
- On the sign-up page, enter your email address and password to create an account. You can also sign up with your Google or GitHub account.
- Verify your email address by clicking on the link sent to your email inbox.
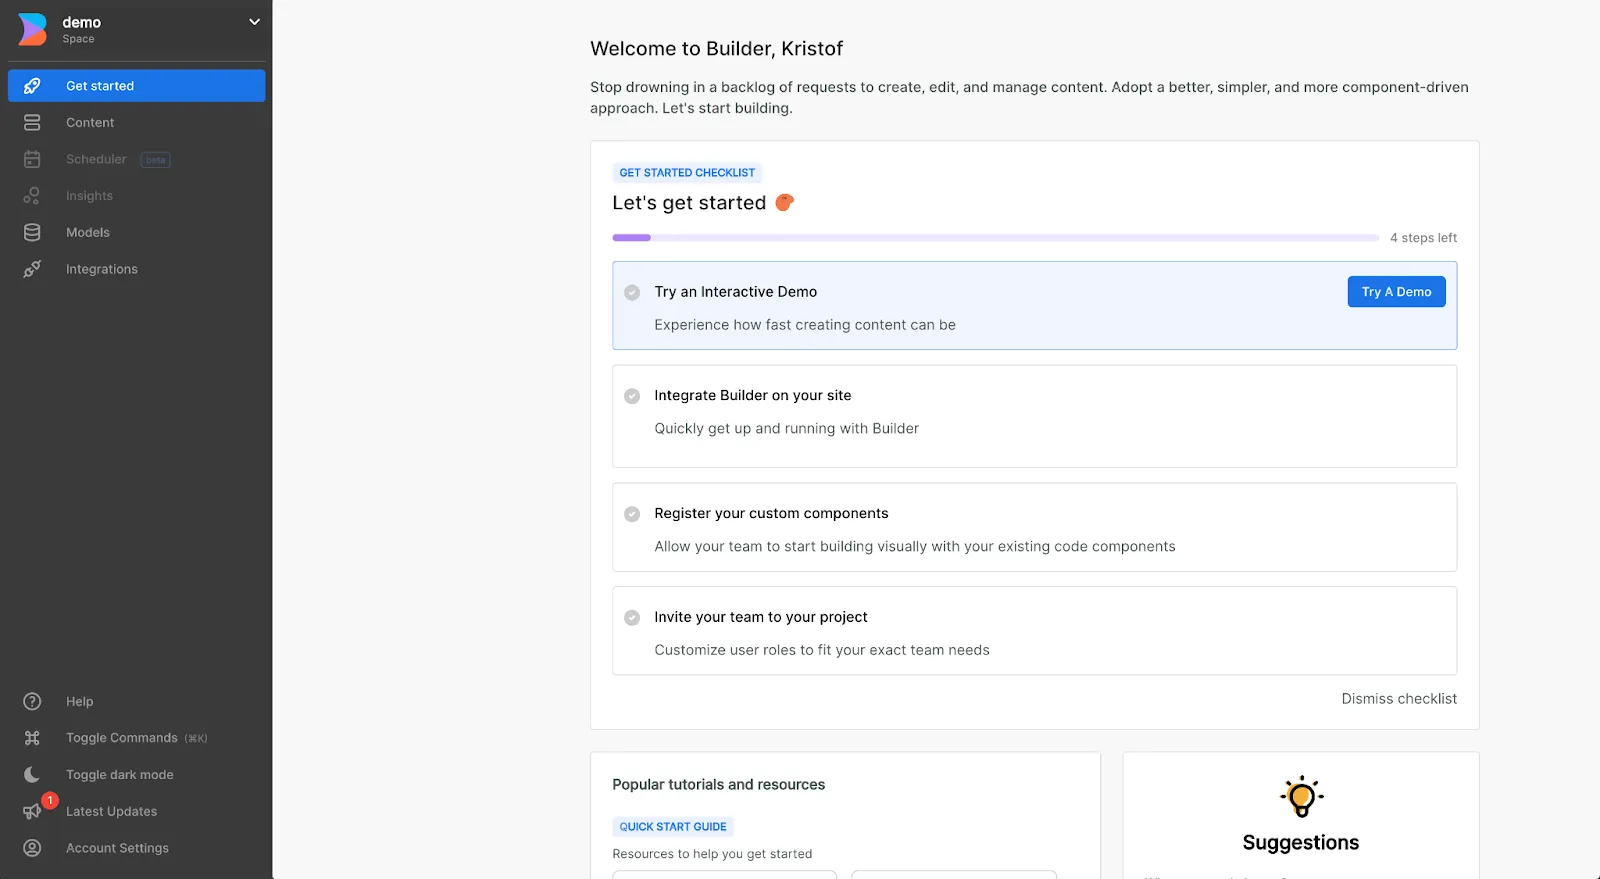
- Once you've verified your email, you'll be taken to the Builder.io dashboard. You can create an organization here by clicking on the "+" button on the top right corner of the page, and then selecting "Organization".
- Give your organization a name and select a plan. Select the plan that best fits your needs. You can select the free tier for this project.
- Next, you can create a space within the organization. A space can be considered as a container for content and it makes it easy for you to manage different types of content. You can create a new space by clicking on the "+" button, and then selecting "Space".
- Give your space a name and select a template. Templates are pre-configured sets of entities, layouts and symbols that can be used to easily create a website or an application.
- After creating a space, you'll be taken to the Builder.io editor, where you can start creating and managing your content. You can use the drag-and-drop interface to create new pages, components, and layouts, or you can use the code editor to create custom code components.
- To use Builder.io with your own application or website, you'll need to create an API key in the settings page and use it to authenticate your requests. This can be done by navigating to the settings page in your organization, and then selecting "API Keys" and creating a new key.
And that's it! You're now ready to start creating and managing your content with Builder.io, and to follow this tutorial.
If you followed these steps, you will see something similar:
And at the same time, if you followed the steps, open the starter project in your favorite IDE, I will use VSCode.
First type npm install to get the dependencies.
If you haven't already copied your public API key from Builder.io, now is the time. Then paste it into all your .env files. Now we are ready, if we start the project with npm run dev (development environment), this is the home screen on http://localhost:3000:
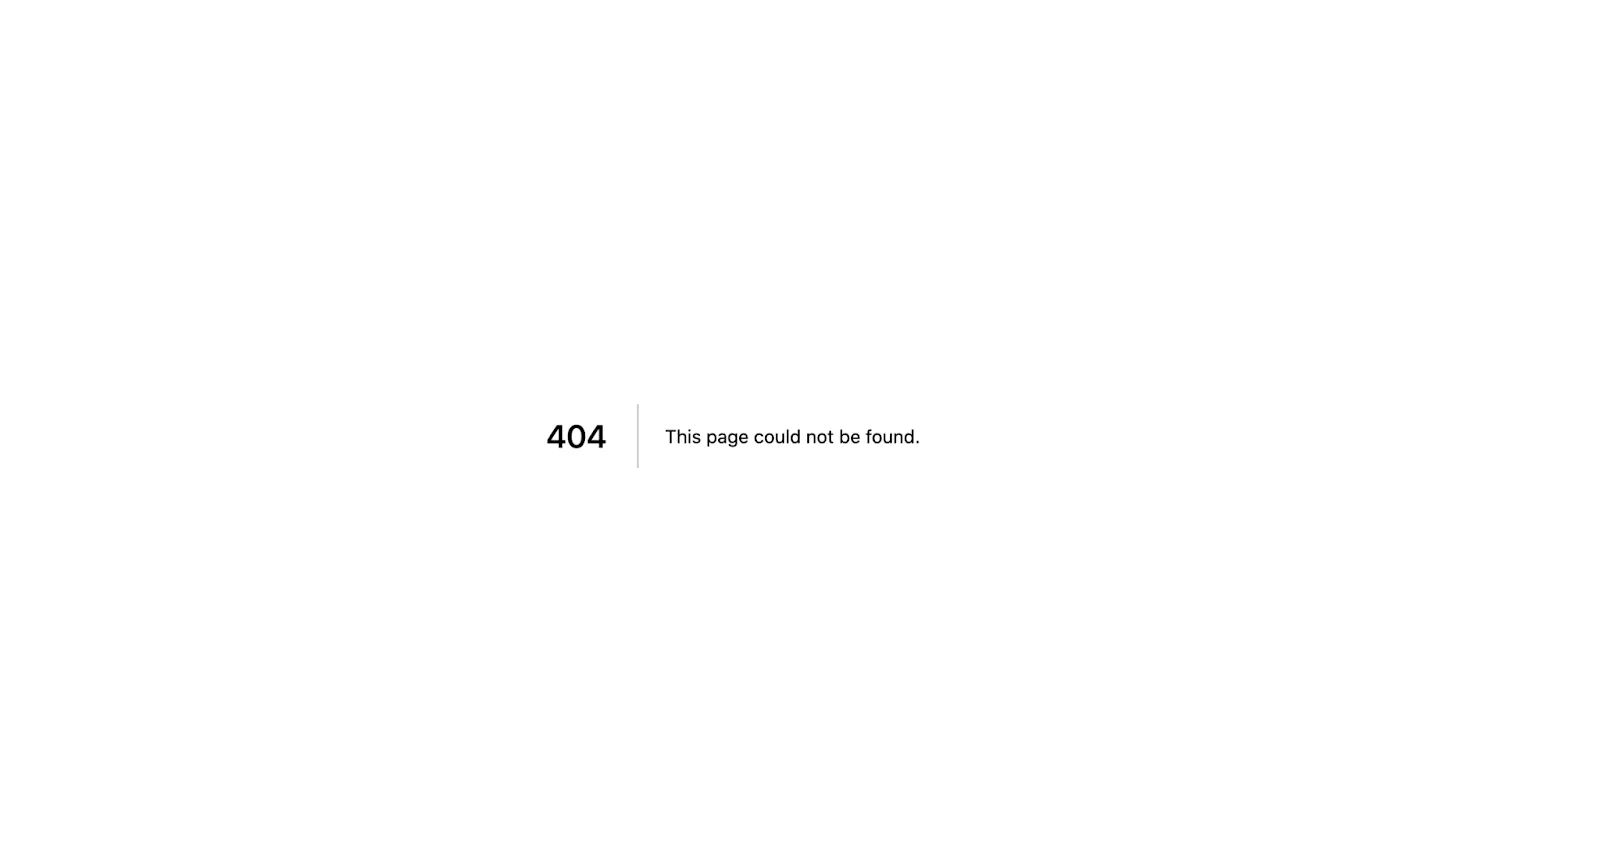
Brilliant! Of course it’s 404, because we don’t have anything to show yet.
Without getting too deep into the details, let's go through the code to see what we see here.
In Next.js all files inside the pages folder will be define a route for our application. This one is a bit special, because the [[...iwillcatcheverything]] would be the better name for it. (Read more: https://nextjs.org/docs/routing/dynamic-routes#catch-all-routes)
Basically in this file, we fetch (server-side) all of our ‘page’ content in the getStaticPaths method, and generate all the routes for it with the url property. After this mapping the getStaticProps method will be called with every single element of our generated routes. Next, we now retrieve and return page content that specifically matches this url. And in the UI section, we check if there is such a page (this is returned from getStaticProps), if there is, it is displayed using the specific Buildercomponent, if not, an error page (like the 404 we just saw) is presented. (Besides this there are some SEO metatags, which can of course be extended).
Why is this Buildercomponent so special?
A "Buildercomponent" in Builder.io refers to a building block or pre-designed component that can be used to show off in your code, it can be a button, a text box, an image, a whole page, a symbol, or your registered custom code component (no worries, we will get into that later)..
Shortly, this can properly parse the elements that you have just drag-and-dropped on the UI interface, and in your selected framework it will look like exactly the same component. Really cool, isn't it?
Before we start this amazing rocket tutorial, let’s add TailwindCSS to our code. TailwindCSS is a popular utility-first CSS framework that can be used to quickly add styling to a Next.js application.
Here is the step by step tutorial on video, or check the official documentation.
The only thing is missing from this, we need to include the css file in _app.jsx
That’s it, you successfully added TailwindCSS. Enough theory, now let's look at something tangible that is not a 404 page.
So as you could see in the demo, we are going to need 3 different pages:
- Landing page: this will be fully drag and drop page built in Builder.io
- List page: this will be a page created in next.js, but the data will be fetched from Builder.io
- Detail page: this will also be created in Next.js, but the whole layout will be coming from Builder.io (tricky symbol with custom elements as well)
We start off with the navbar which we will need on all pages..
First add your logo to the public folder, you need to create this to the root.

After that add the Navbar to the components folder (Navbar/Navbar.jsx):
And finally we wrap the core our app, this is how our _app.tsx looks like:
If you now run the server with npm run dev, this is how it should look like:
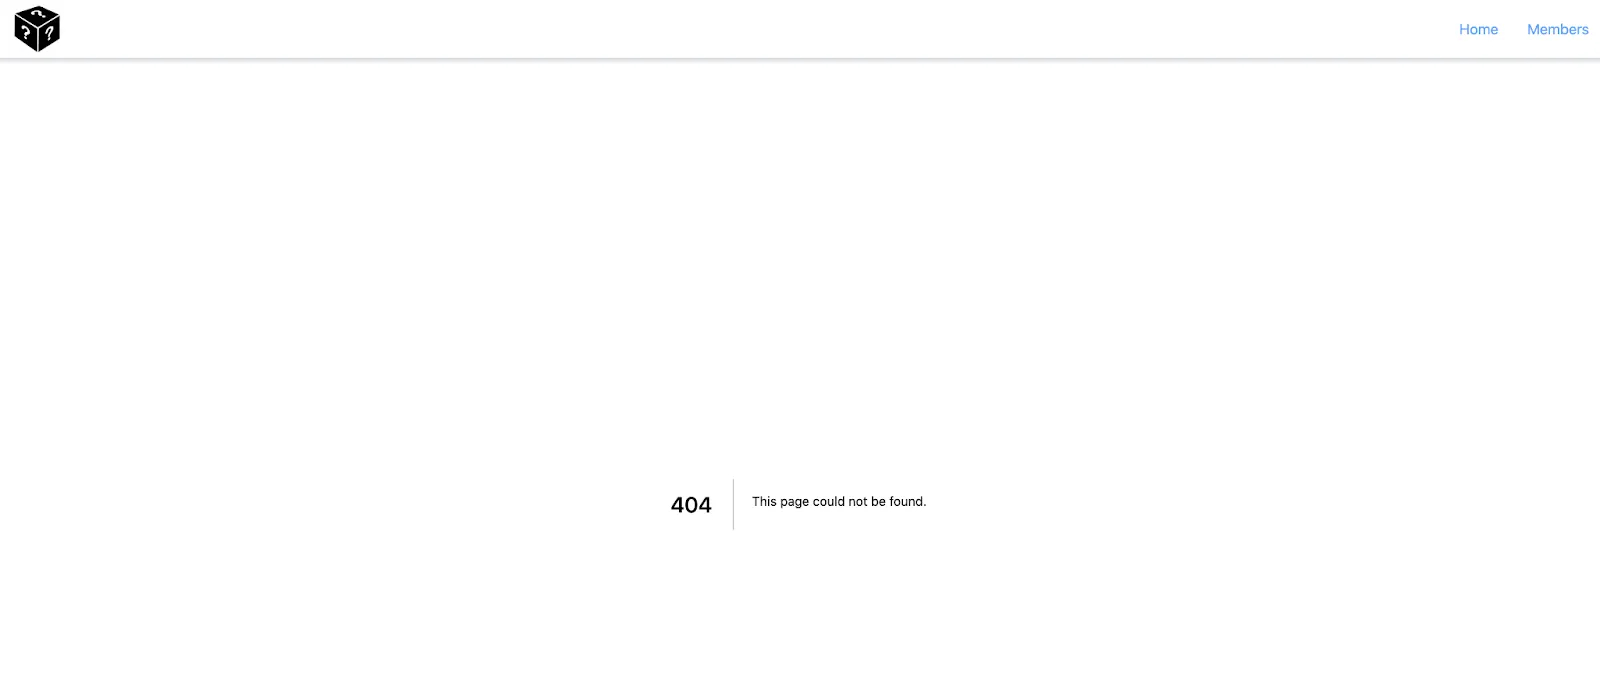
Of course the content is still 404, but we have this beauty on the top. The routing works also, but of course currently the home is empty and there is no /members route. Let’s fix this!
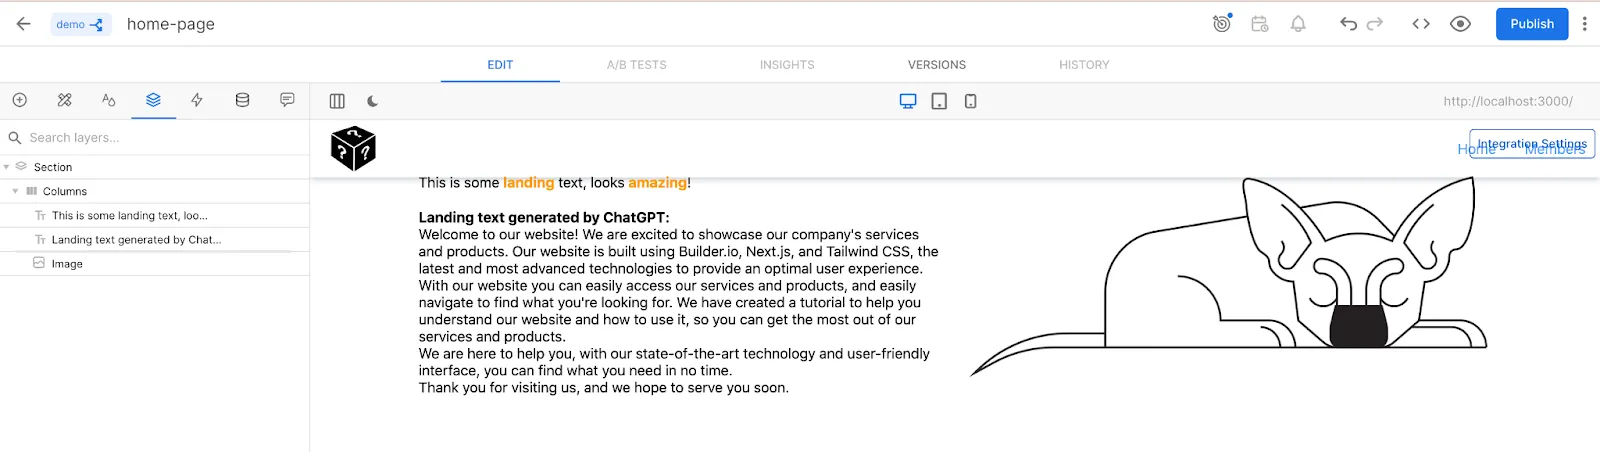
We start with the home screen, make sure to have your localhost at preview url in the page settings:

Now only your imagination can limit this page, start adding everything you would like to see on your landing page. Don’t worry about the overflow, we will fix it from code.
Play around with it, check the features because we cannot deep dive in every detail in this tutorial (maybe in the next one ;))
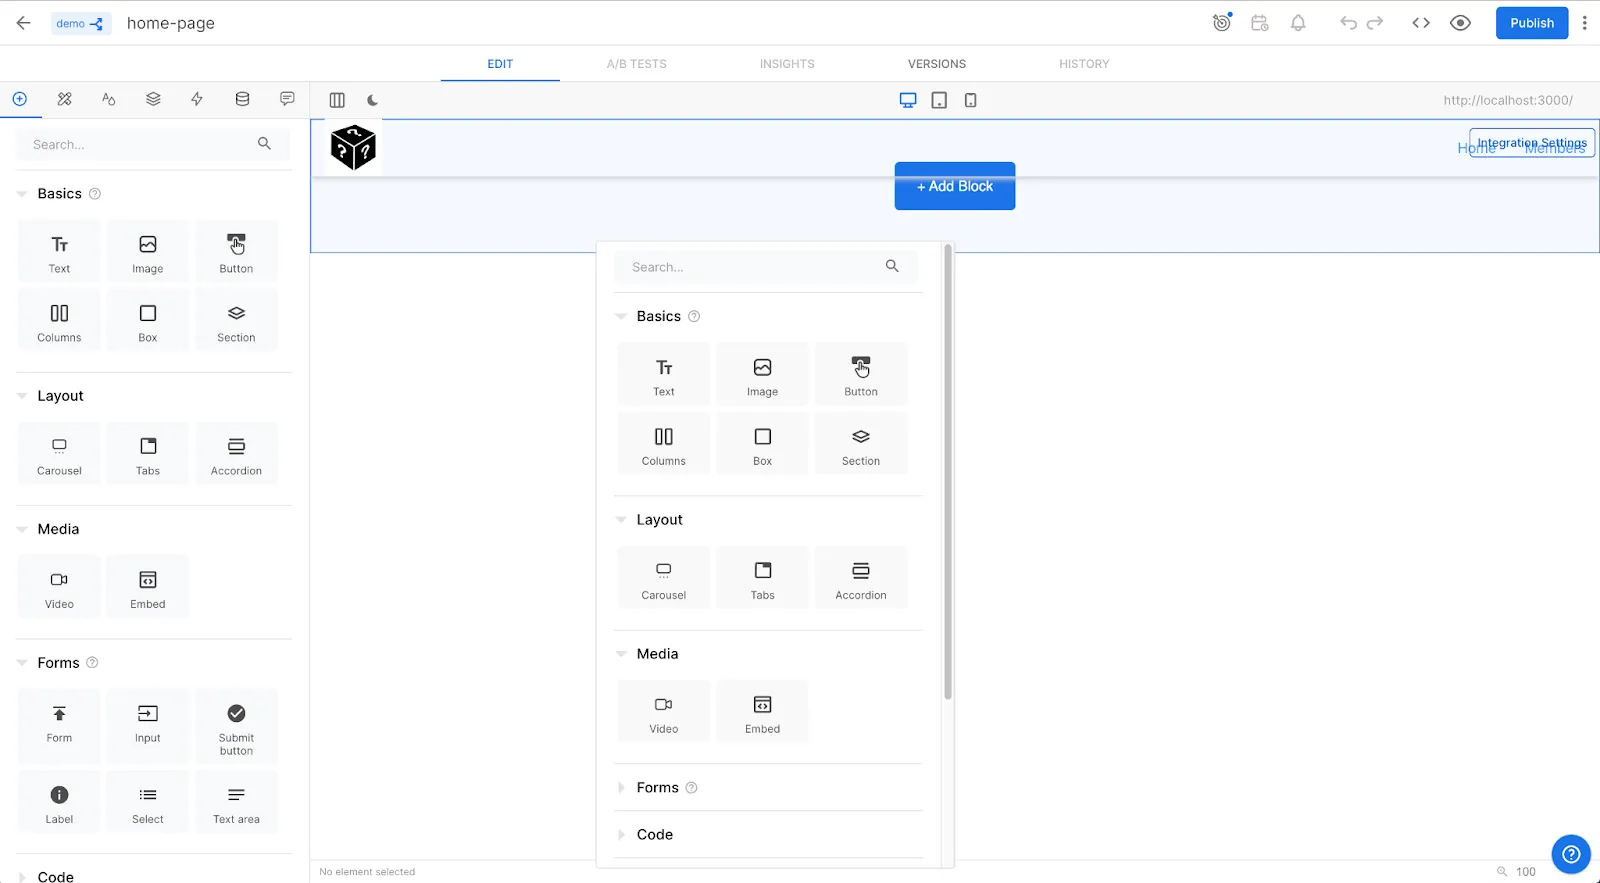
I will stick to the basics:
Great, now that we have our initial home page, it would be nice to see it on our own localhost server. When you click on the publish button, the page goes live. If we navigate to localhost:3000, we won't see the change at first, because on the one hand it's still loading the page from cache, and on the other hand it hasn't invalidated its old state (it will be revalidated in getStaticProps). Let's refresh it a good few times, and voila.
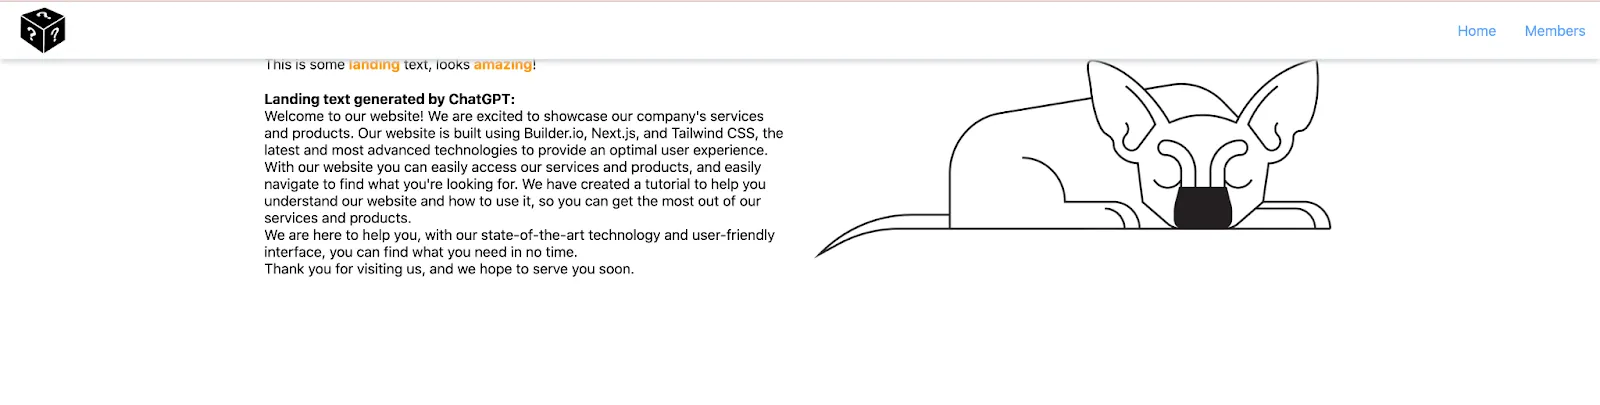
To fix this almost overlapping issue, just add some margin to the _app.tsx, and also apply the predefined container class. (It will prevent the content from becoming too fragmented)
Hopefully you start seeing why it’s worth working with Builder.io. Users can easily create pages using a drag-and-drop interface, making it simple for anyone to create and design professional-looking pages. This means that marketers, content creators, and other non-technical team members can create pages that are consistent with the company's branding and design guidelines, while developers can focus on more complex tasks such as building custom functionality and optimizing performance.
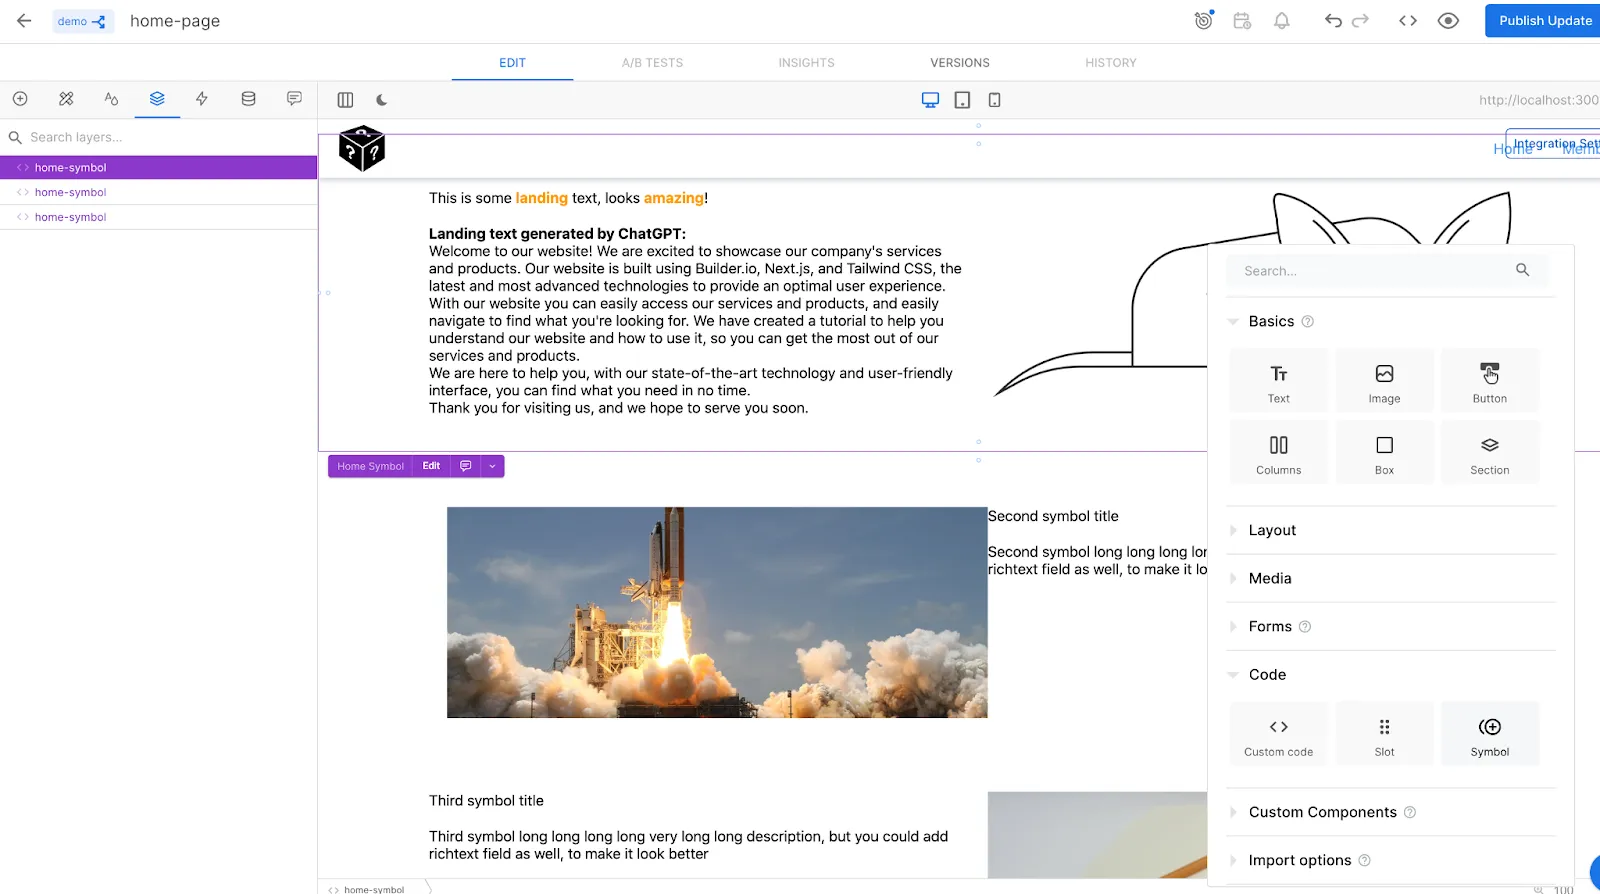
Let’s suppose we want to have this page with many similar components with the same layout, just like the above one. “When you want to create one element, reuse it throughout your site, and update all instances at once, use a Symbol.” - we can read this on the official site.
We will convert this layout to a symbol in a second.
When you click on the Edit symbol, we can make this component to be parametrized and more configurable.

In Builder.io, element data bindings allow you to pass data to a symbol (a reusable component) and use that data to customize the appearance or behavior of the elements within the symbol. This can be useful for creating dynamic, parametrized components that can be easily reused and customized across different pages or sections of a website or app.
This way, you can easily reuse the symbol to display the same layout on different pages, without having to manually update the content of each instance of the symbol.
So let’s add parameters to this component: as you can see there are 3 different parameters: title, description and the image on the right.
It would also be great if we could control whether the image should be on the left or on the right side of the text, that will be the fourth parameter, it's a bit trickier, but we'll deal with it.
You can add the symbol component (inside Code) to the page.
Now that you have that, feel free to add as many symbols as you like to the main page, and fill it in however you like. Next time you want to modify the symbol itself, say add a blue border, you only need to do that once in the main symbol component and it will modify all of them. Pretty time-optimal, isn't it?
With this, we looked at how to drag and drop a page to create a complete page and link it from code. We also saw how a symbol works, don't be lazy to play around with the editor itself and discover hidden gems.
Now we'll look at something completely new, the list page, whose data will be taken from the Builder, but we'll manage the entire layout from code.
As we've written before, to create new pages from code, in nextjs it's very easy to do this with the folder structure. Let's now create two new pages, one will be the plain list view, and the other will be the detail page for a particular list item.
Let's say we want to display this list view on /members (already set in the navbar), and /members/[id] would be the detail view for the corresponding person. The best thing about this route description is that we will do exactly the same in code.
Quick reminder how data fetching in next.js works when we want to SSR our pages.
In Next.js, getStaticPaths is a function that is used to define dynamic routes for a page. It is called at build time and is used to generate the paths for the pages that will be statically exported. The function should return an object with a "paths" key that contains an array of objects, each with a "params" key that defines the route's parameters.
getStaticProps is a function that is used to fetch data for a page at build time. It is called for each path generated by getStaticPaths, and it should return an object with a "props" key that contains the data that should be passed to the page component as props.
Both getStaticPaths and getStaticProps are only available on pages in the pages directory, and they must be exported as named exports from the page file.
When you build your app, Next.js will call these functions and use the data they return to statically generate pages with the correct data. This allows your app to be server-rendered, and also allows search engines to easily index the pages.
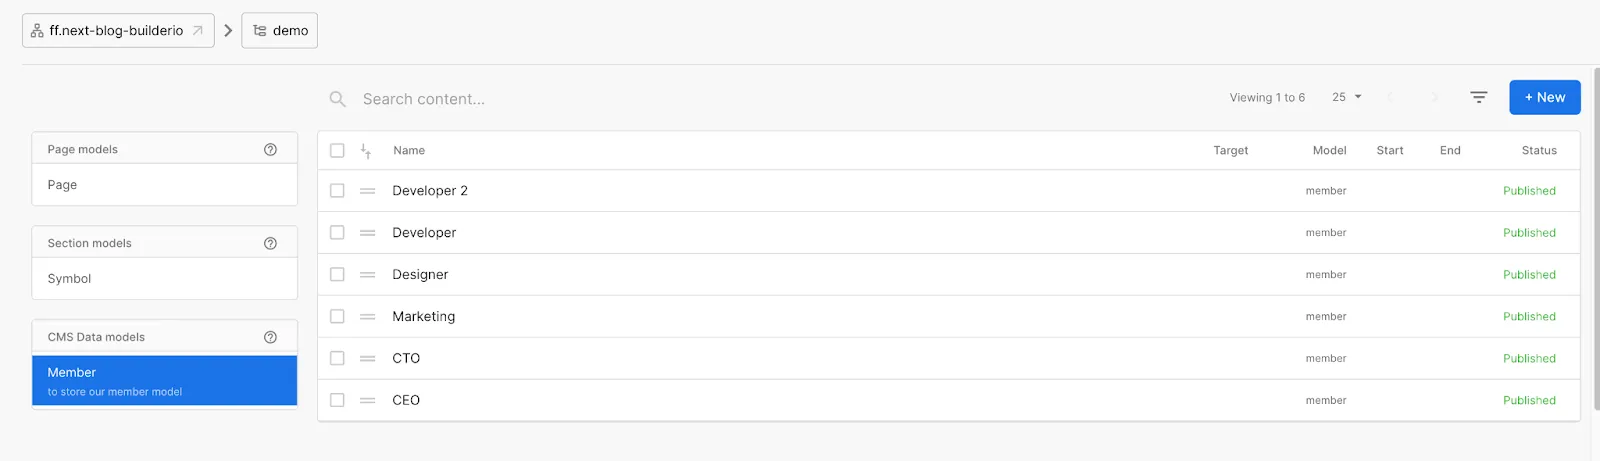
Alright, to have something to query from the server, it is time to create the person model itself and populate it with data.
What data do we want to store about our persons? We need a name, a title, a short description and a profile picture. With this, we can create a minimalist design.
In the following video I show you how to do it step by step.
Your turn, get some more people ready so we can work on the design.
what's left at the end: putting together the lego, and from code, referencing the members and creating the appropriate code design on the corresponding route.
Create a MemberCard.jsx component inside Member folder.
Let's iterate through the list, and return a MemberCard for every element:
We query the server for all the member data, but out of this much information (many automatic metadata are retrieved), we only need the specific data, which we can read from the “data” property. We then return with this and automatically inject this data source into our component, where we map it through React specifically and create a MemberCard, passing an element from the list.
Here is the result, everything works like a charm:

The last one will be a more advanced topic, when I personally did this for the first time I did a lot of searching, researching for the answer and finally with the help of Steve the Builder.io creator I was able to solve the problem, by the way I note the support on the forum is very helpful. If you have any problems, there's a good chance that others have already encountered this, you just need to look for the relevant article on the forum.
The detailing page will consist of a symbol like the one we saw on the homepage, but to make it not so simple, this symbol will not only use the built-in elements, but also a React component we created, which Builder.io can parse into a drag-and-drop element. This is unmatched in the market, let's see what it takes to do this.
Here you can read in detail of my forum post.
This will be our custom-react component, it’s a pretty basic layout with 4 bindings.
/Member/MemberDetail.jsx
First we need to create a special route, this will be the preview url in our newly created section element::
__builder-custom-react__.js
Take care of the naming, it is very important. After you created this, we can see in the UI our drag-and-droppable component.
When you create such a custom-react section data entry, you can see under the “Custom components” you will find your MemberDetail element.
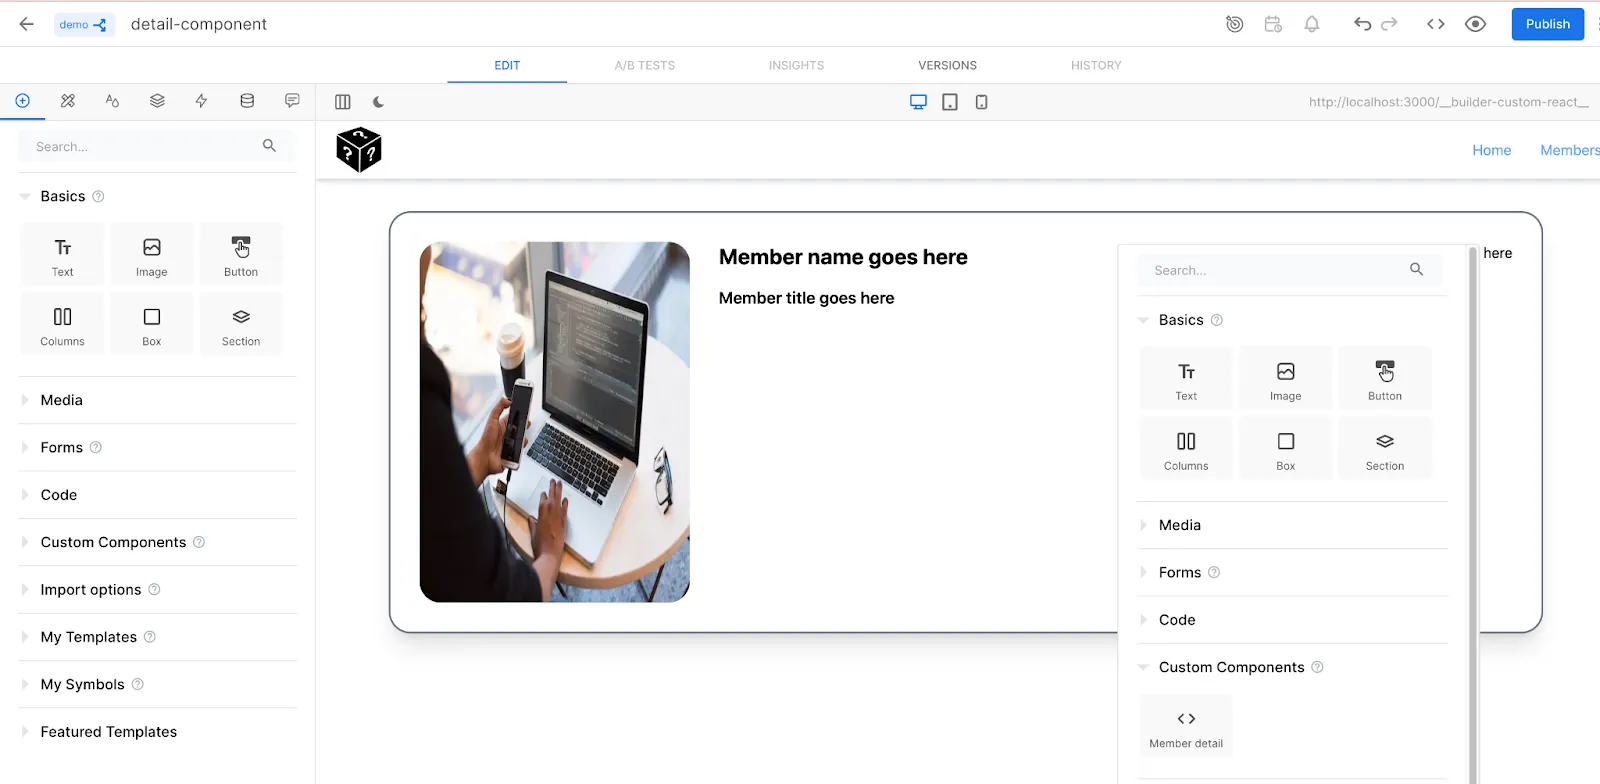
And it has all the configurable properties that you have just added in code:
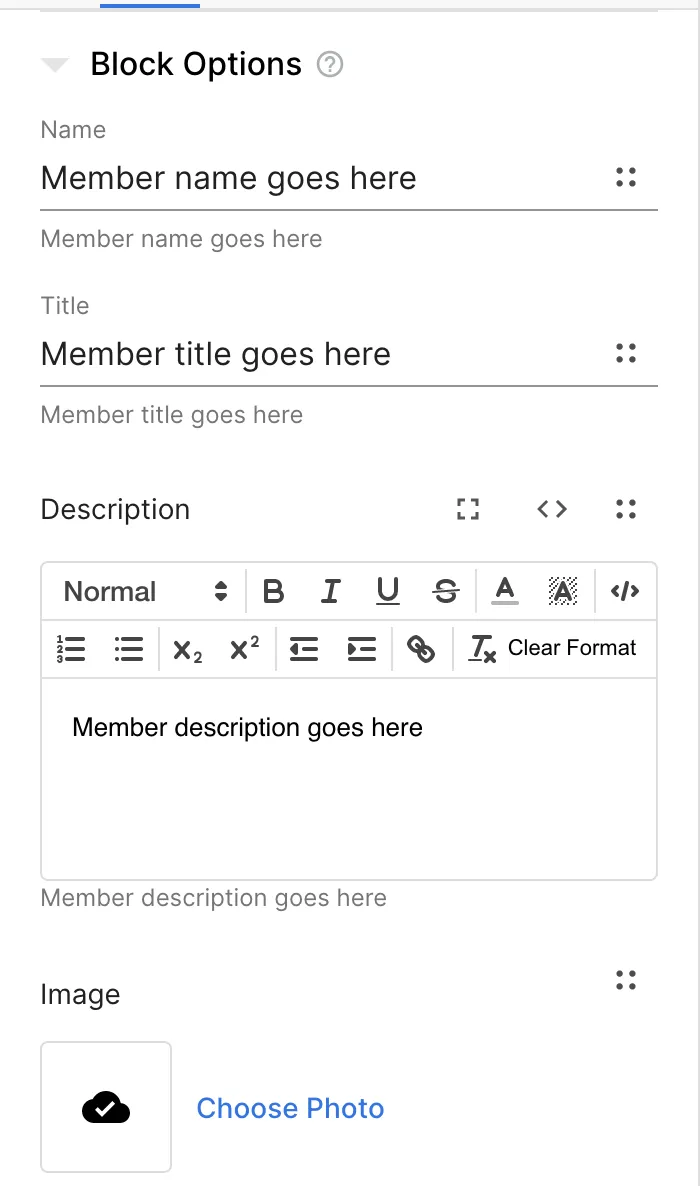
And here's the next twist, another interesting part. Obviously you can't hardcode any values in here, because then it won't be dynamic. However, from the code, we want to import this component to our detail page, and display our corresponding person there, we want to bind their data to these fields.
Here is the code part, in the /members/[id].js
We import again this special BuilderComponent and to be able to tell which symbol we would like to see, we need to specify the model type, and the id as well. There are many ways to get this id, here is one of them:*
What happens here, after we import this Builder symbol, we pass the data props, which will be our member information, and now we head back to the symbol to make these data bindings, not so self explanatory, but I got you.
So in this case, when we want to pass data to the builder component, we can do it through data. And from the builder, we can do that through the state and point the property to the right place. Don't be scared that the whole preview is empty, because there is no data attached, so there is nothing to display. But if you refer to it from code and pass it the data, everything will fall into place nicely, completing the last piece of the puzzle.
Congratulations you made it! Here is your fully functional website. I know we have covered lot of topic, and maybe for one sit it’s a bit tooooo much and long, but I wanted to show you as many things as possible, just to see how powerful is the NextJS + Builder.io techstack. And this is only the surface, are you interested in a second part, let us know!